I can’t believe it, but it really happened. And every time I glance out into the yard my heart jumps a little and I remember “HEY THAT REALLY HAPPENED.”
{This seems like as good a time as any to thank my husband for his kindness toward me, his willingness toward this project, his longsuffering, and also his ability to plate a Hot Pocket like a James Beard award winner.}
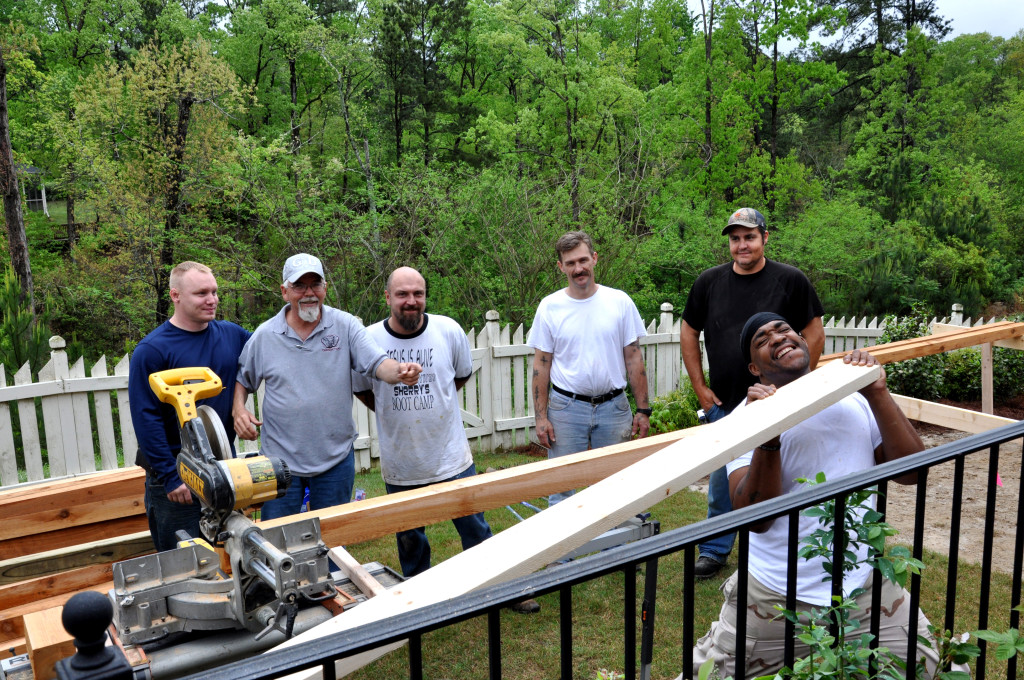
Saturday was The Big Day around here, and to make The Big Day happen we employed The Big Guns.
These were not your average dudes. No, these were men among men. And they were kind and helpful, went above and beyond when it came to precision and craftsmanship, and we couldn’t be more pleased with the outcome. {Also, it probably didn’t hurt that I kept them running on cookies for the better part of the day.}
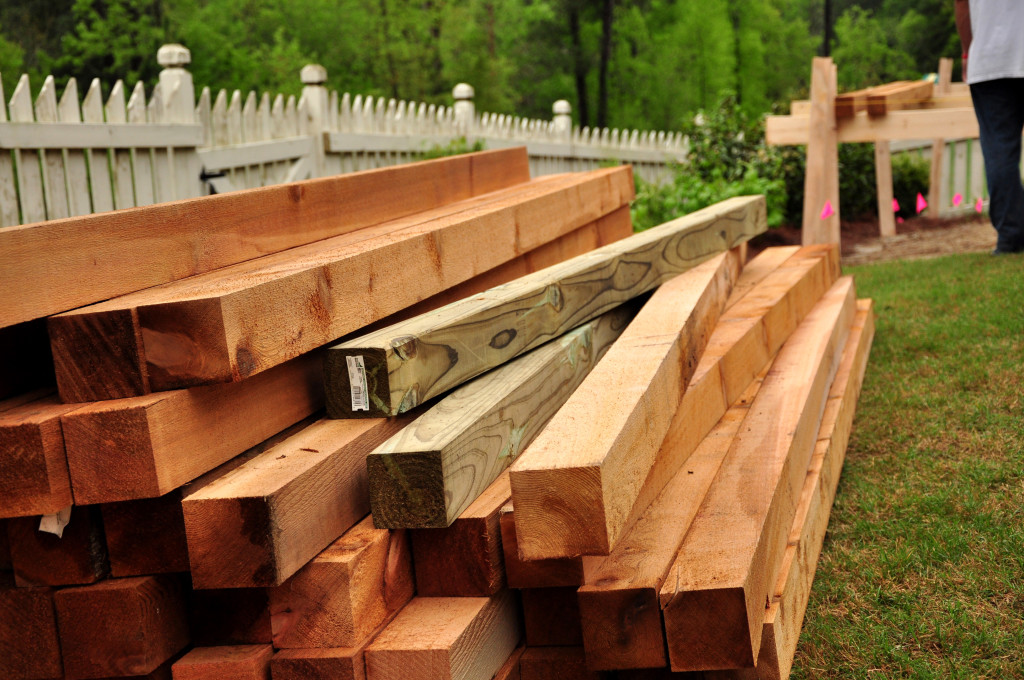
This project was heavily inspired by Joe Lamp’l’s home garden set created in this episode of Growing a Greener World. {Slightly obsessed with that show…but that’s another post…} David was very pleased with the look of his 6×6 cedar timber beds, and that’s why we decided to go with cedar, albeit 4×4 because HELLO DOLLA DOLLA BILLZ.
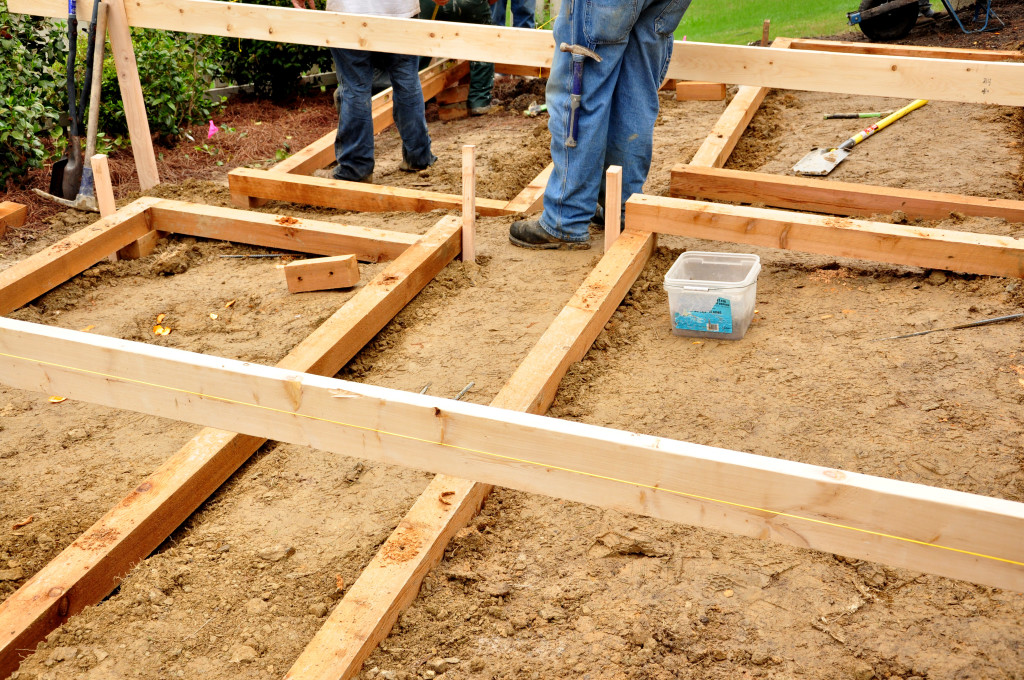
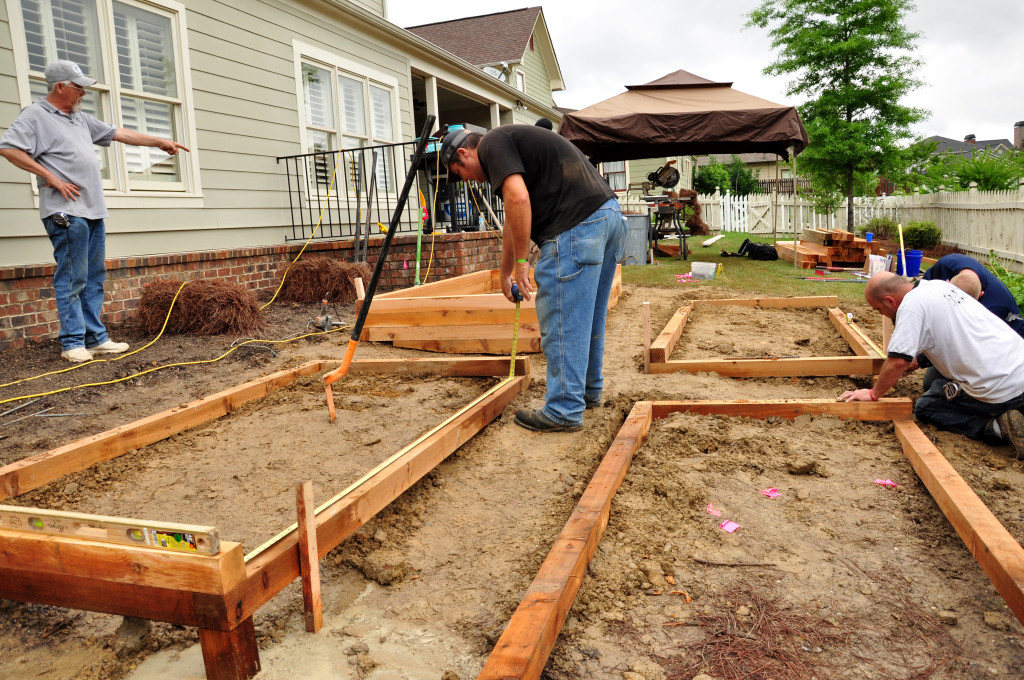
The Big Guns set up a plywood structure so they could have the ability to reverse measure due to the odd grade of our property. {Years ago when we looked into having this flattened, it was cost prohibitive.} So enter complicated math:
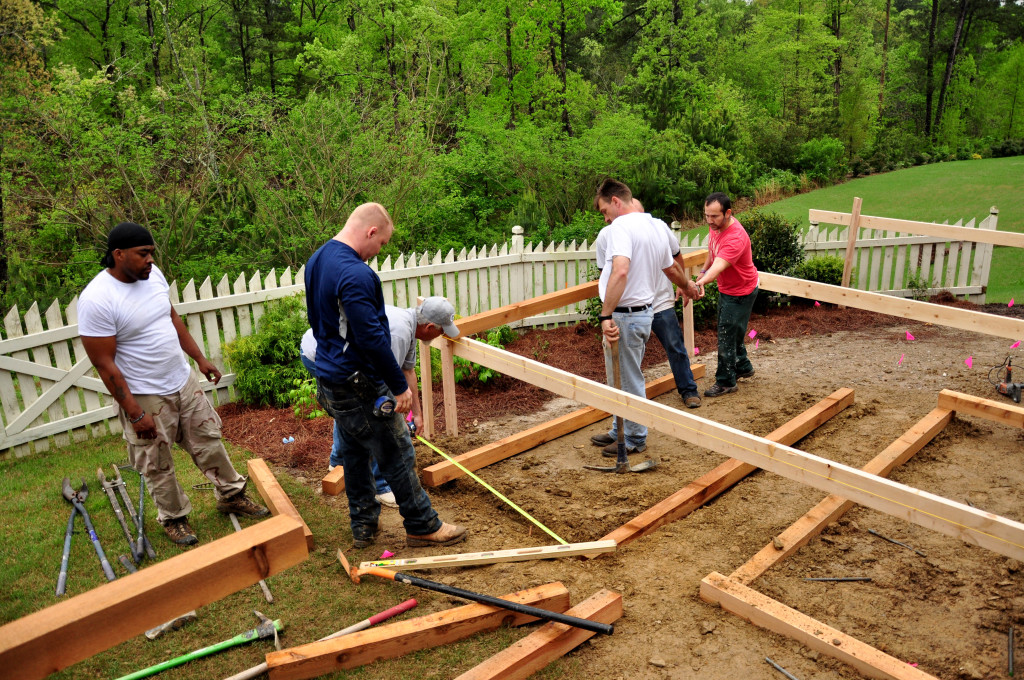
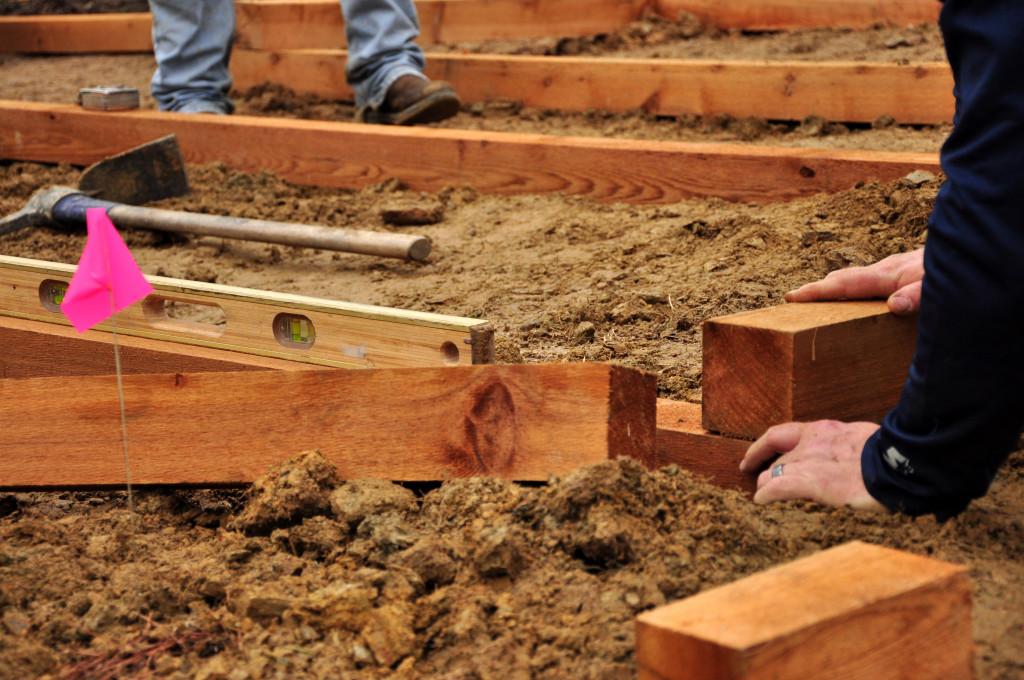
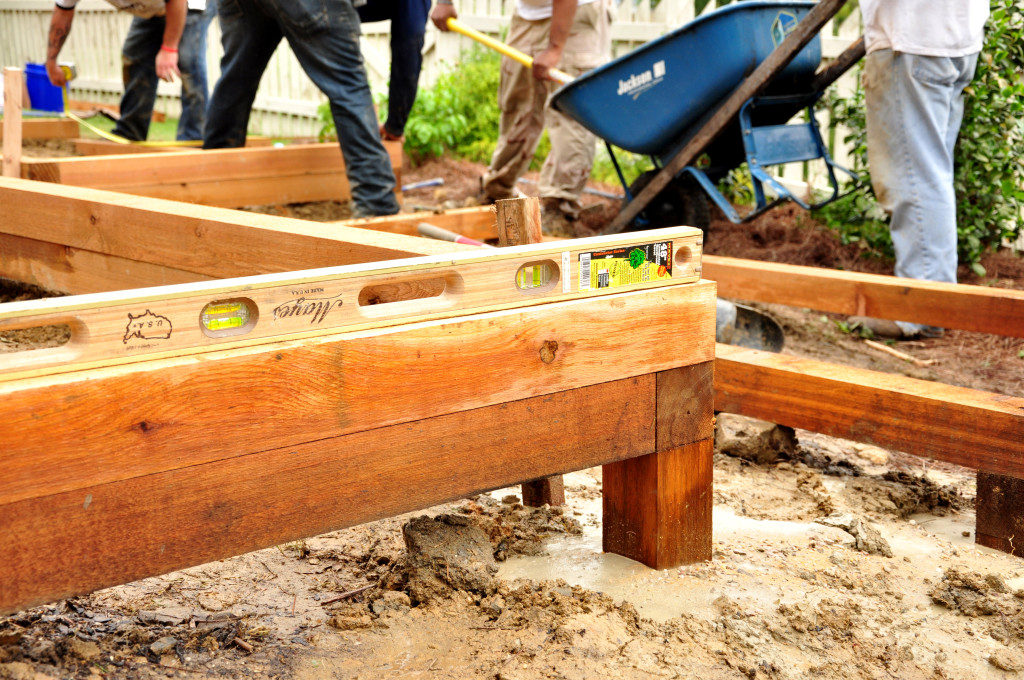
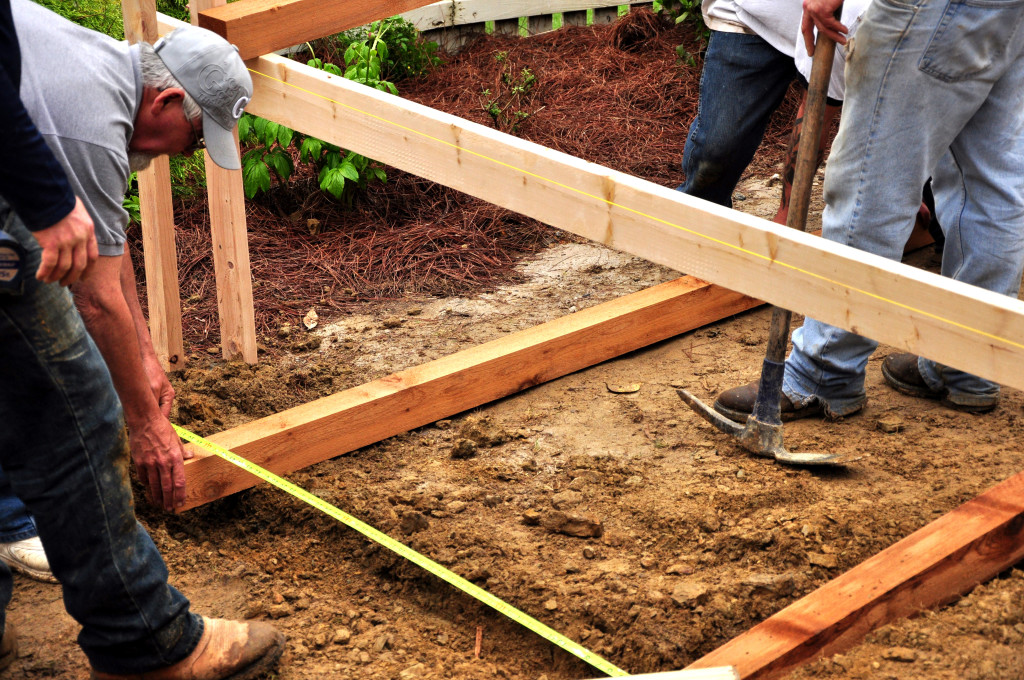 They set in the first posts, and leveled:
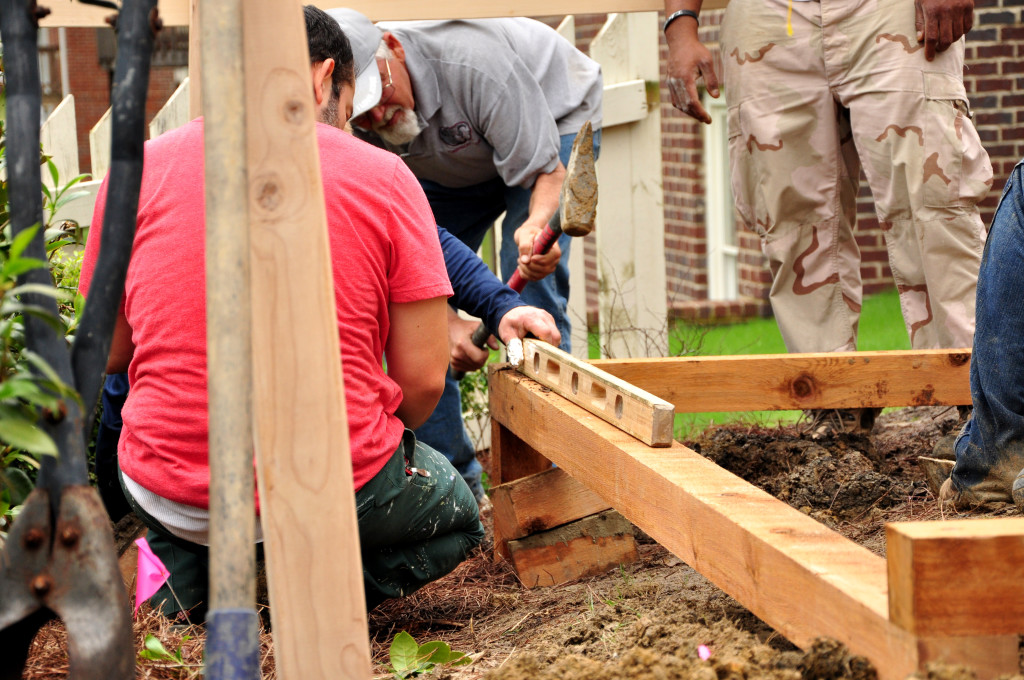
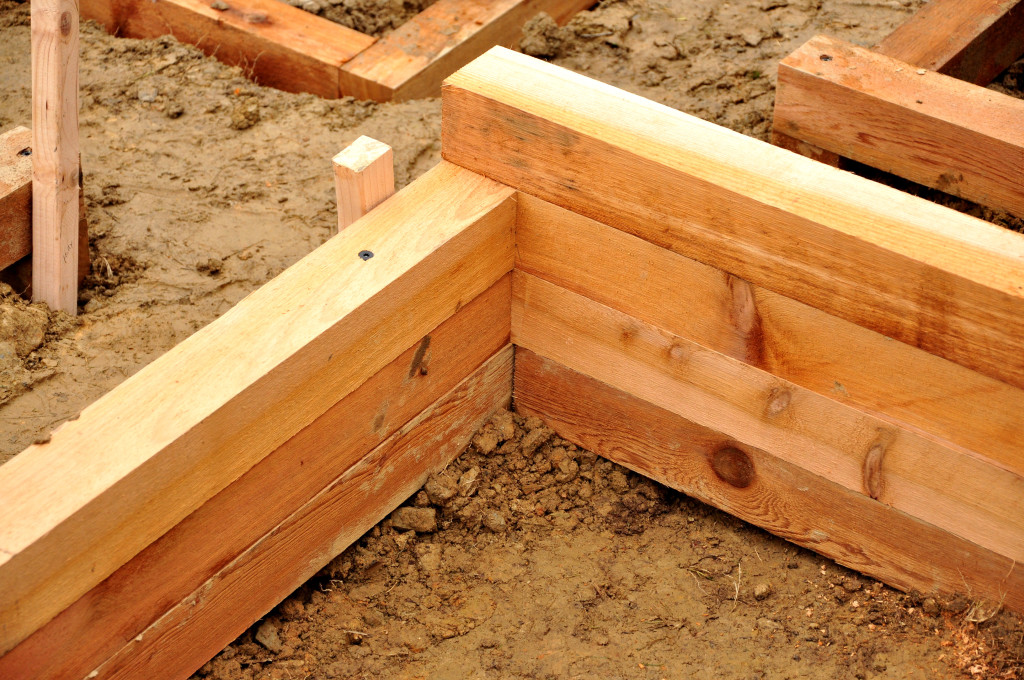
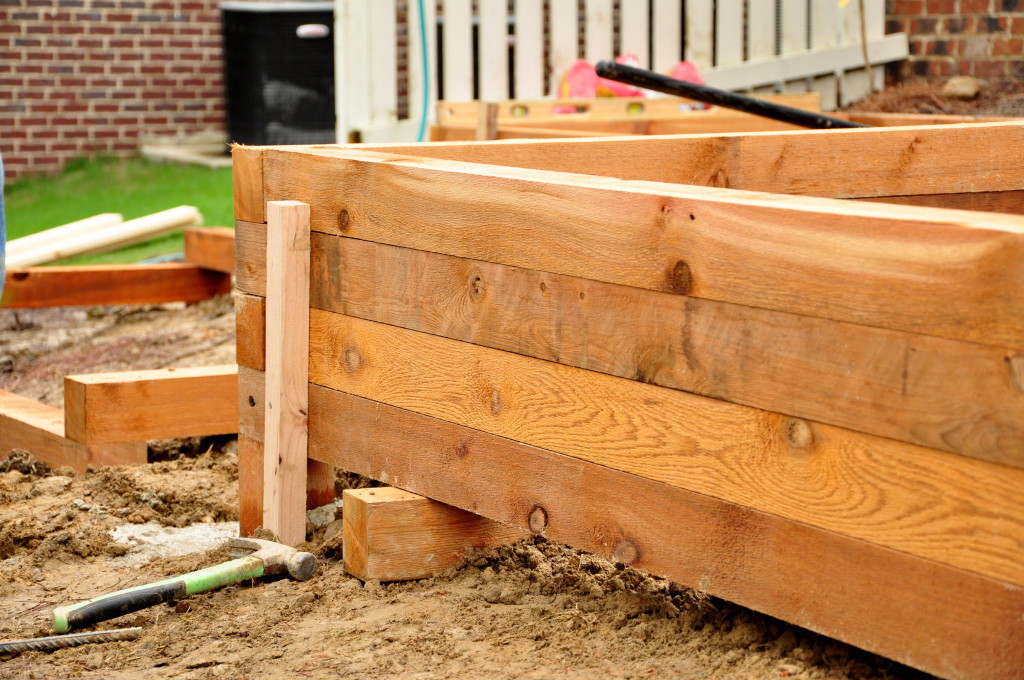
Then began the offset stacking:
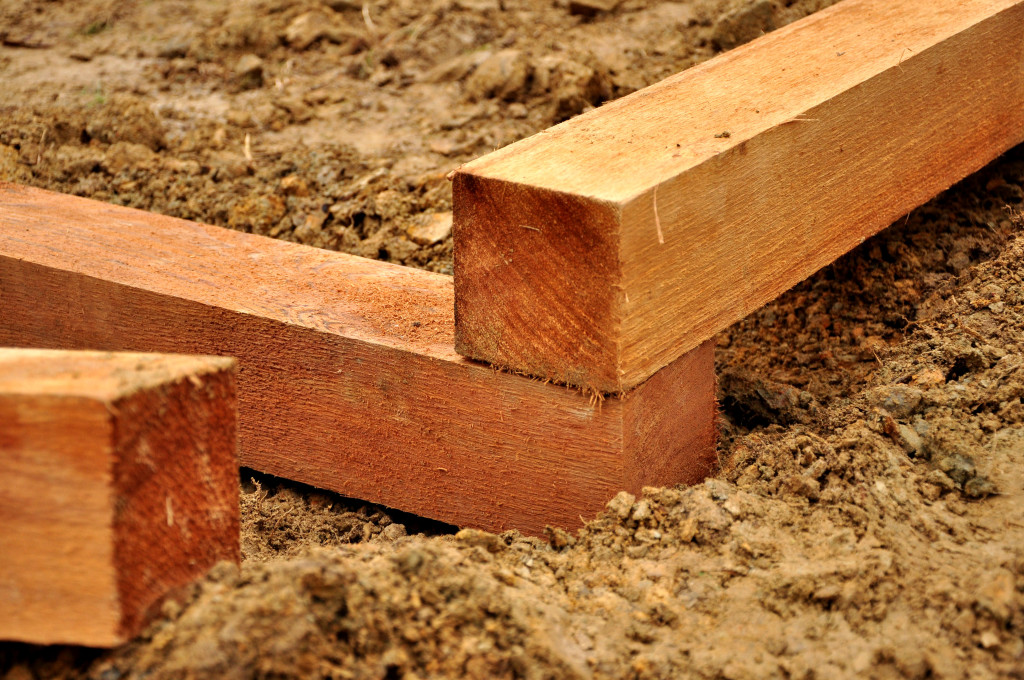 As anticipated, the deepest corner was the most complicated to set structurally:
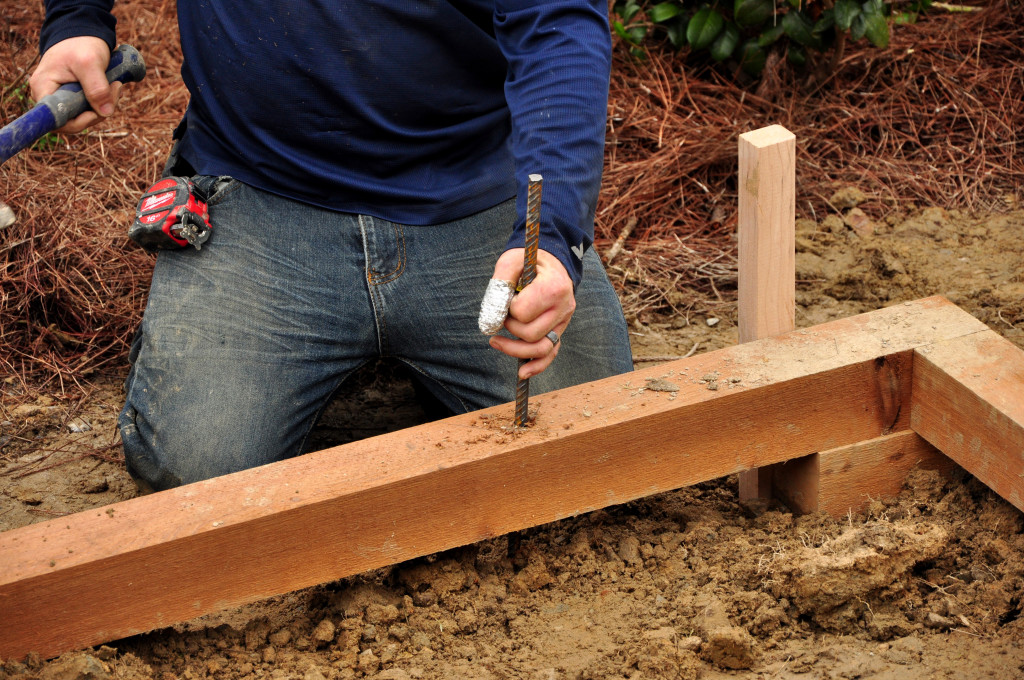
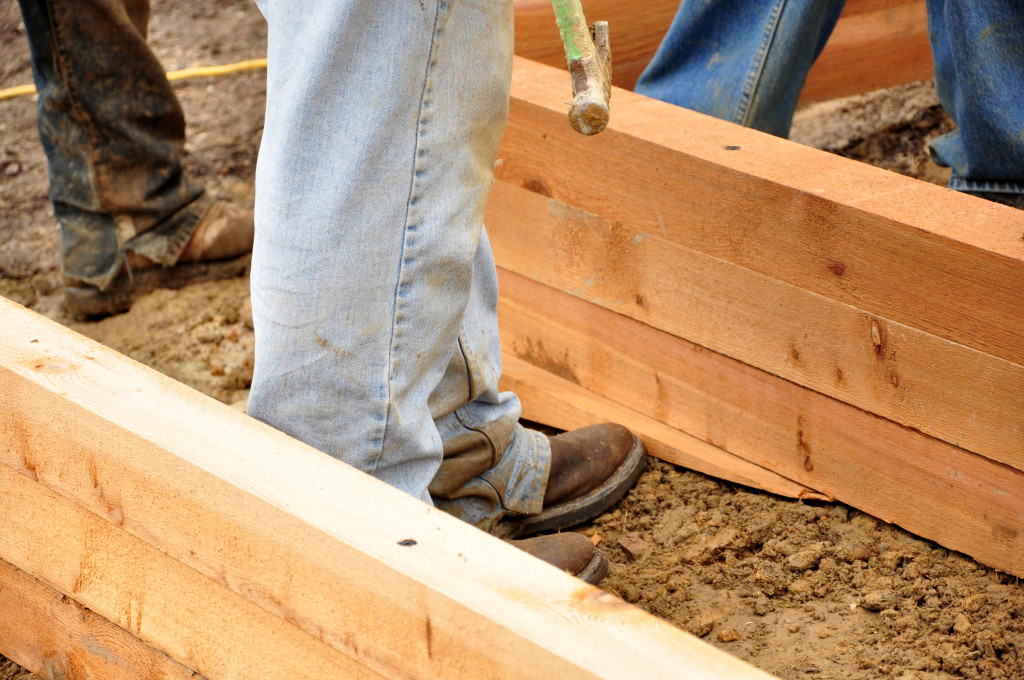
Then they drilled in and set rebar stakes down through the bottom level for added stability.
From there things started to move pretty fast. As I may have mentioned before: seven dudes.
{Please keep in mind that there is a 100% chance I am grossly over-simplifying this project.}
I knew I didn’t want any portion of any of the beds to be less than 12″ in depth for planting purposes, so the height of each bed had to vary {pretty drastically} based on the wonky slope of the yard.
Shim was cut and placed for the odd-angled corners:
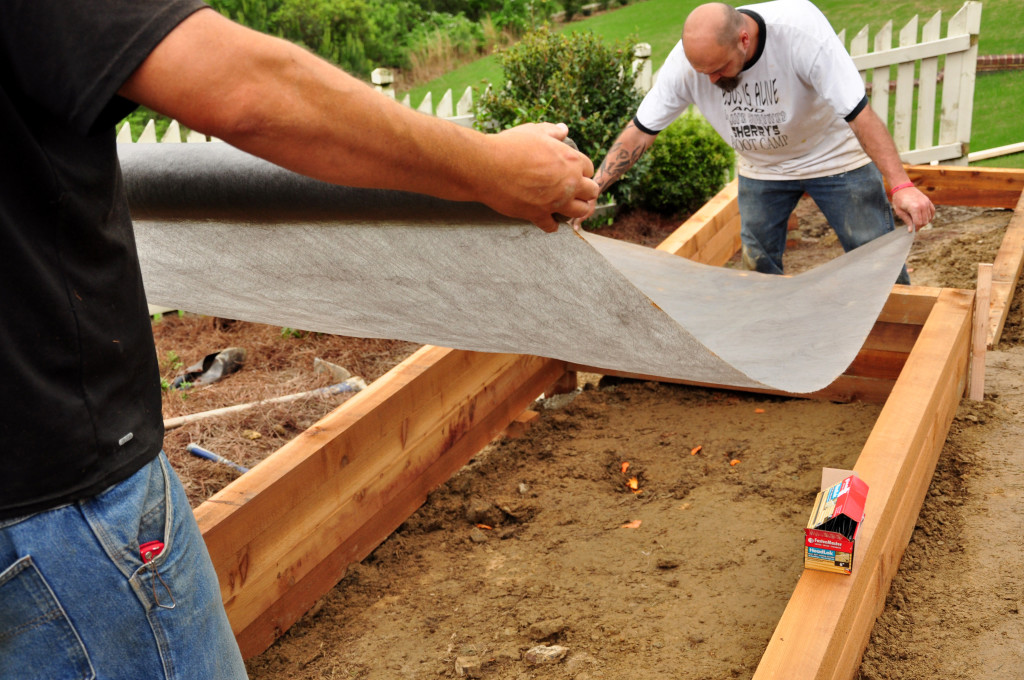
The pick for lining the inside bottom of the beds was landscape fabric:
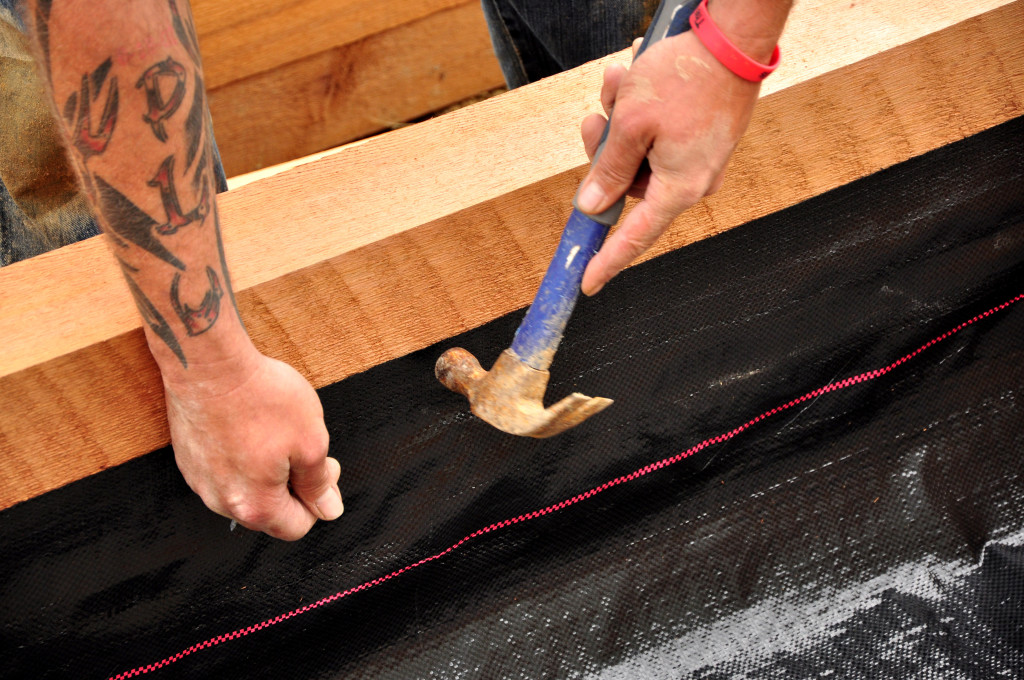
While just the inside sides of the beds were lined with a thick plastic to {hopefully} get better life out of the cedar:
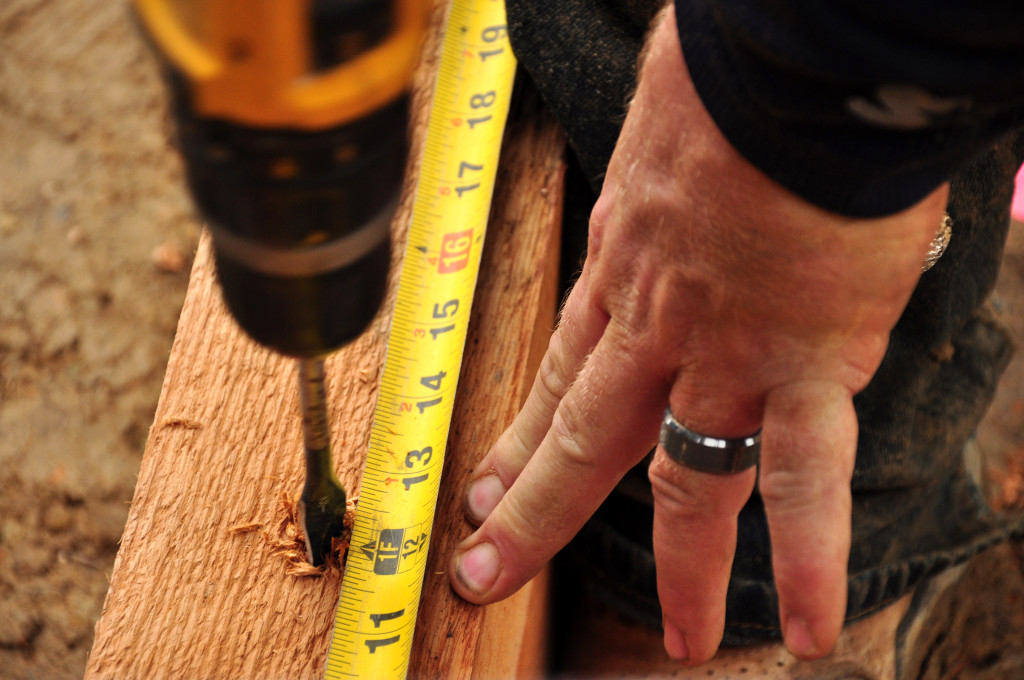
Lastly, everything was secured with super long screws:
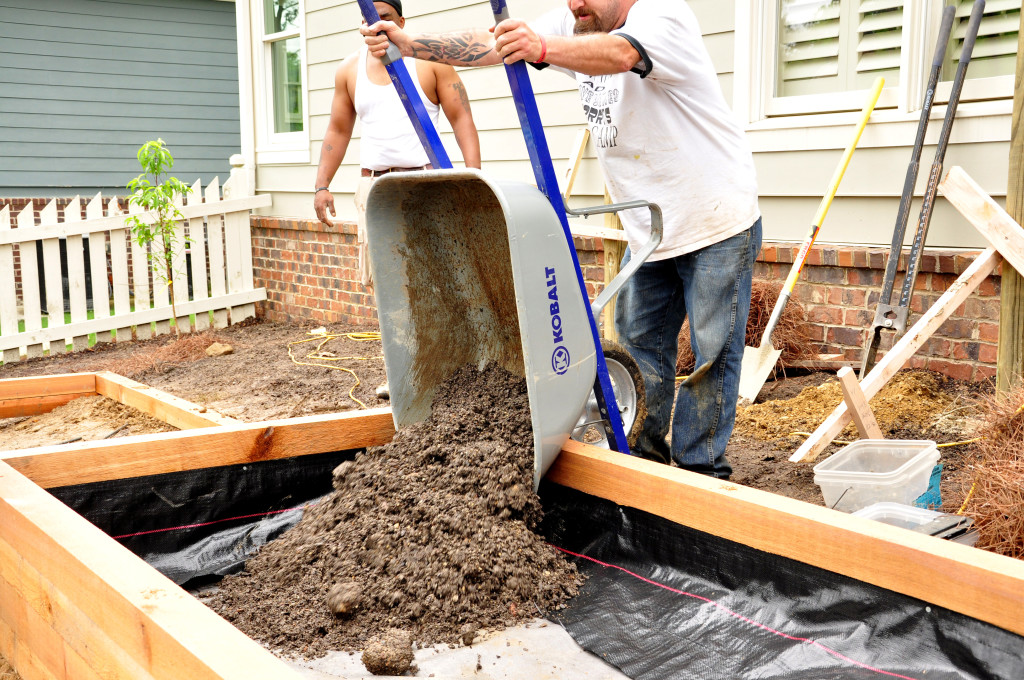
Ceremonial first load of dirt:
And then a few more loads of dirt…I’ll spare you the play by play…
Quick check of Instagram:
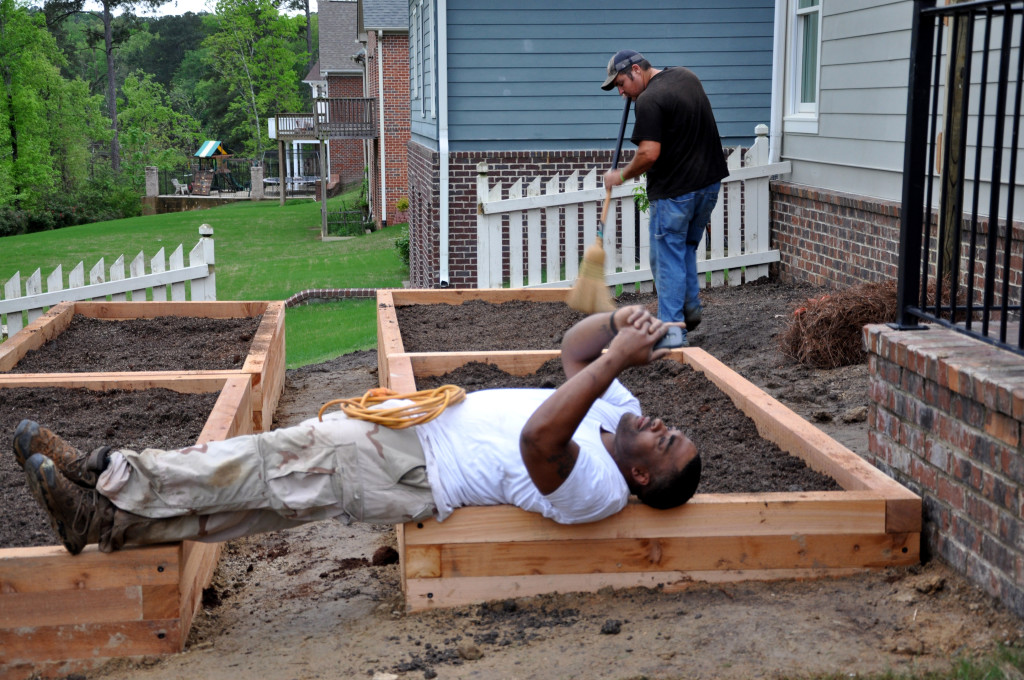
And they’re finished:
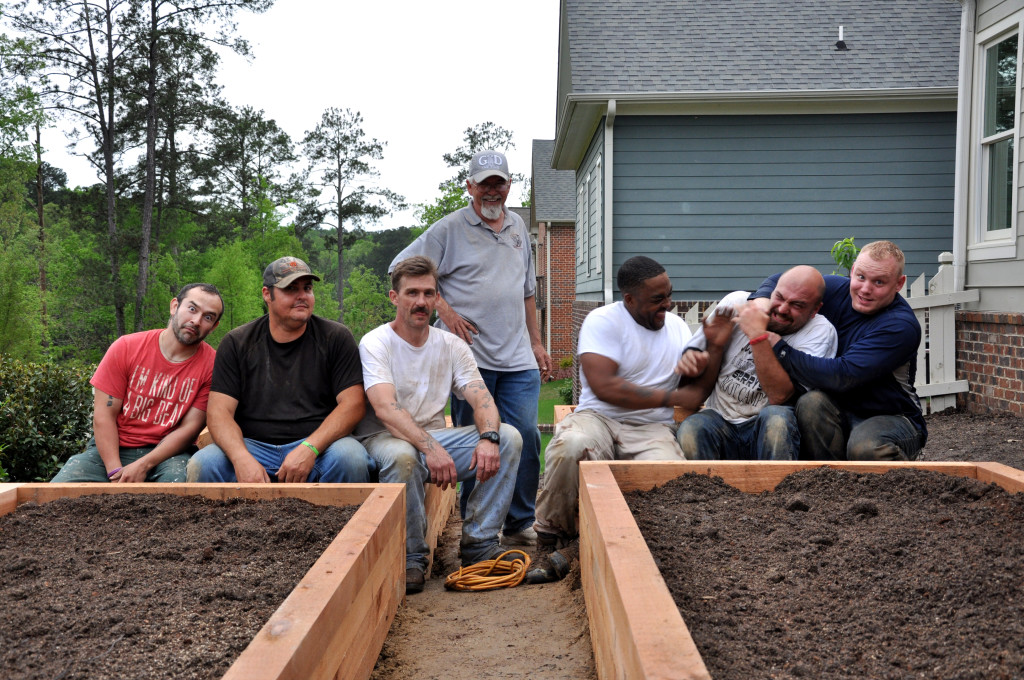
Guys–our family are your #1 fans. We are pulling for you! “But for me it is good to be near God; I have made the Lord God my refuge, that I may tell of all your works.” Psalm 73:28
I sure do think they’re pretty.
{The raised beds–not the guys.}
A big thank you to Morris and Stan, and all the guys from Advantage Painting and Home Renovations.
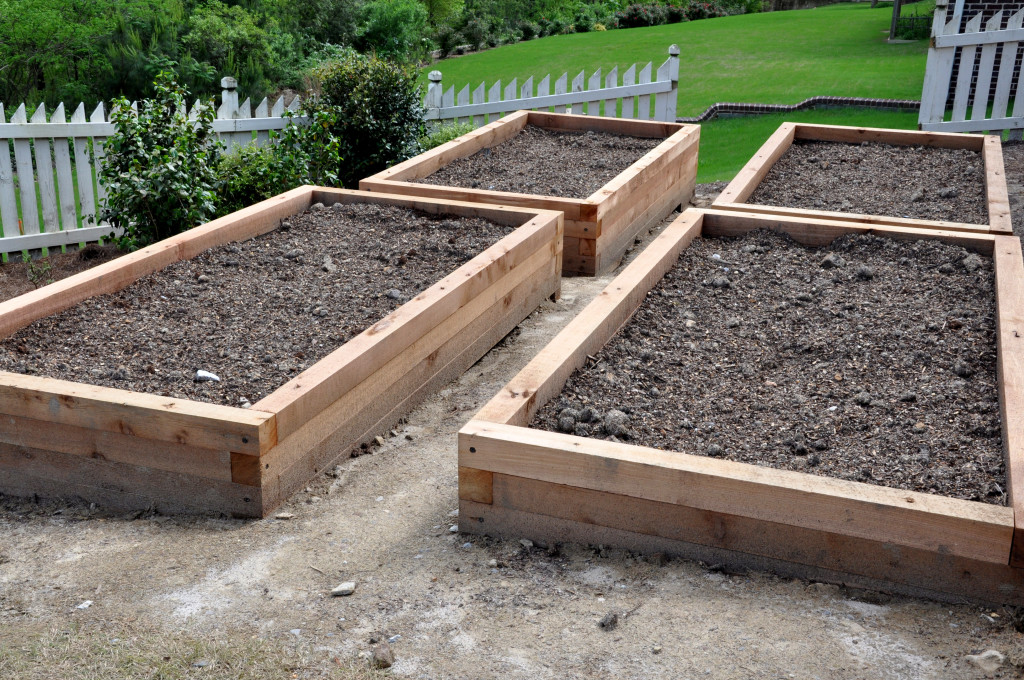
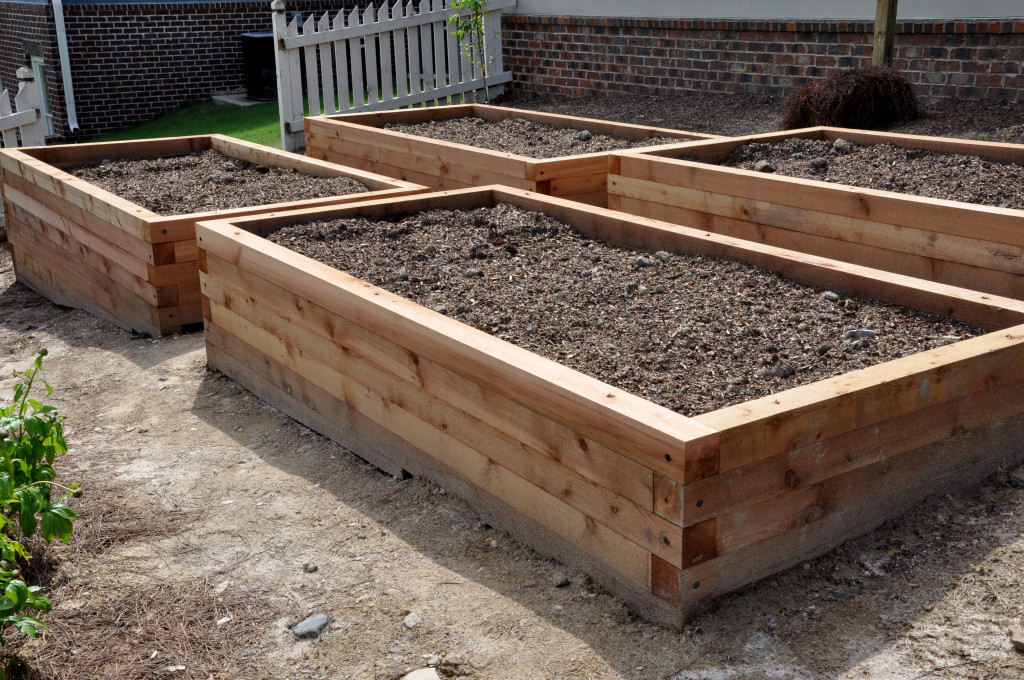


They are beautiful and very impressive….. The beds and the dudes!
Wow, wow, wow Holly!
Your raised bed project was amazing and I loved seeing this all come together. They look fantastic! Good for you that you finally were able to make this dream come true. I certainly can relate! I built huge raised beds for community gardens all over the U.S and Canada, all the while wishing some day I’d have a raised bed garden like that of my own. Years later it finally happened and well worth the wait–and investment.
I know you will get many years of enjoyment from these. Thanks for documenting it on this great blog post.
Considering that the last blog comment I received before yours appears to have come from a hacker somewhere in the Russian Federation–SO COOL, Joe Lamp’l! Thanks for reading and for the affirmation!
Holly!!! Thanks to the Husband’s link on FB, I’ve found your site and *throughly enjoyed* catching up on your gardening projects for the past few months! And, WOW, what a project!! I SO WISH I could see it first hand over a cup of ice-cold lemonade on your patio. Oh well, one can wish, right?
I so love your blog and the fact that I can *hear your voice* while I read, as if you are telling me in person. I love that! Just one suggestion, though… please more pics!! I feel as if I’m getting the teaser version through, like I’m looking though a toilet paper roll. More pics!!
My escape here is also loving on my little piece of the world that I call my garden here in Germany. You can see some pics on the link above (password is our house number). It’s certainly a work in progress and seemingly under constant evolution. I’m learning how to plant in a new ‘zone’ and teaching myself along the way what will thrive, or not (read… expensive lesson learned last year!).
Please keep sharing the spoils of your beautiful garden. I’m loving it!
awe, love you ang!!! and can’t wait to see your pics!!!